
CCTV camera (system) installation issues keep rising, while you are choosing top surveillance equipment. Running wires, drilling holes, and cables inside and outside a home may freak you out. Installing a CCTV camera system can a costly affair. Don’t worry; follow these simple steps, and do the installation yourself.
Contents
Know Accurately What Kind of Home CCTV You Will Setup
The installation process differs according to different types of video surveillance cameras. Wireless vs. Wired security camera, which one to select? It depends on your security needs. Get WiFi security cameras, for easier installation and flexibility, while going for wired PoE IP cameras for more stable network signals.
The battery-powered security camera is your most suitable choice if you’d like to get rid of drilling and messy cabling, mainly when installing cameras outside a home.” Wireless means no wiring, and no cords needed. You can feel free to place it anyplace, on a shelf or table, indoors and outdoors, or fix it on the wall without running wires.
Planning before Installing a CCTV camera
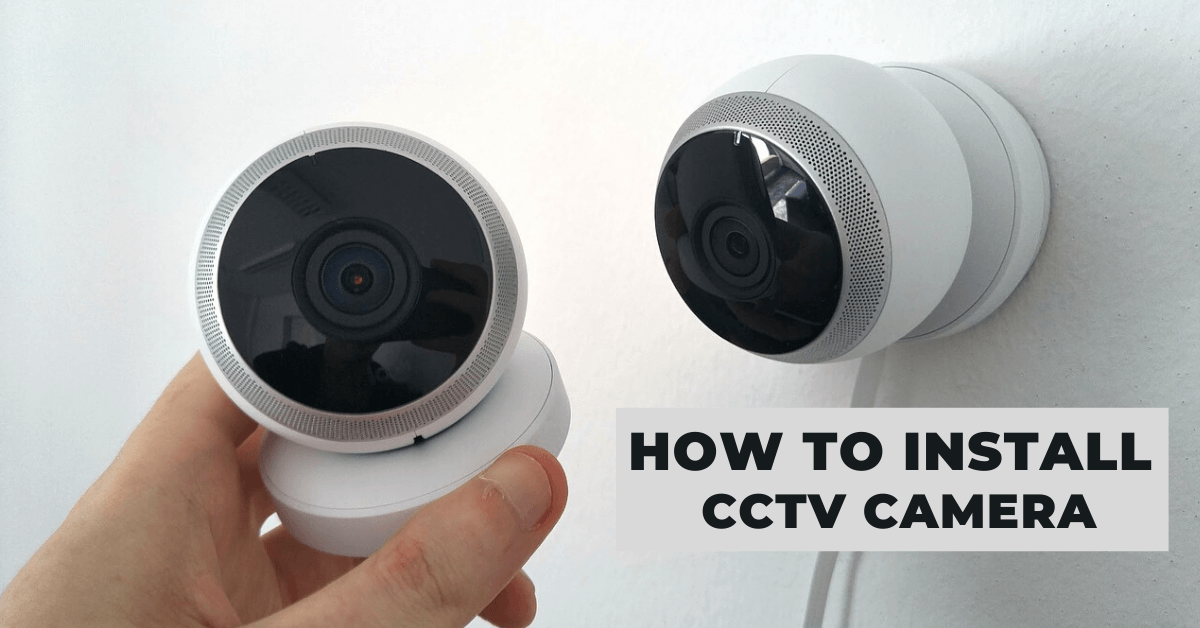
The most crucial phase of installing a CCTV camera system is choosing the right places for camera and DVR to minimize cable length and maximize camera coverage (which, in turn, decreases the inline losses that affect video quality). For the inside, choose a corner in the room from where most entry points into the room are visible. A power socket should also be near. For outside, choose a higher place covering the window approaches, door, garages, etc. Choose the sites above 10ft so that it cannot be knocked down easily.
Check for Points Where Cameras Get a Clear Vision and Stable Power Source Pay attention to the following details when deciding the areas, you had like to place the CCTV:
- Set your camera up high to make sure it gets a wider and clear picture.
- Place the CCTV camera in a place that is out of reach of home and thieves and intruders, or children.
- Avoid placing your camera directly in front of a light. Pointing towards the sun would result in a slight underexposure of videos and images captured.
- Put cameras near a power source. Even a wireless video camera needs a power supply.
- Place the wanted mounting bracket for the camera under the eave. This helps protect outside CCTV cameras from the harsh and varying climate.
- It is best not to install a CCTV camera below the windows.
- Avoid installing your security cameras to others properties, bathrooms, or places where people shall enjoy a reasonable the expectation of privacy.
How to install CCTV camera with DVR
DVR of the CCTV camera is the place where the surveillance hard disk is already present. Thus all your CCTV recordings remain inside a DVR. Keeping the DVR inside a locked slot is recommended so that even if an invader spots the DVR, he/she can’t erase the recorded videos. This is a crucial step to guarantee a bulletproof security system for your home.
Managing the cables
Trace the pathway for all the cables from cameras to the DVR unit. Use wire frames to keep the wire managed and protected. Nail the moldings along the path and insert the surveillance wire inside.
Connecting the wires
Steps to join the BNC port:
The video cable is joined via a BNC port. Expel about 1.5cm of the outer cover of the video cable, which should now expose the twists. Start the crimping barrel onto the cable with a broader diameter facing towards the end of the cable. Now eliminate the white insulation covering the inner cable. Now add these exposed cables into the BNC port and twist the crimping barrel. This makes a strong connection. Now connect the DVR output port to the monitor on which you want the video feed.
Power on the system
Start by powering ON the CCTV cameras, followed by the display and the DVR. Setup the DVR according to the user manual given with the DVR. Go over every camera’s feed to verify each camera is working perfectly and giving the desired viewing angle.
Setting up DVR and Configuration
When all the camera pictures are showing, you are then able to set up the DVR.
The DVR setup wizard will automatically show when you switch on the recorder, and you will see the wizard on the monitor and use a mouse connected to the DVR to navigate the system. Then:
- Choose a country
- Set date and time and daylight-saving settings
- Choose a user name and password
- Set recording features, e.g., motion recording and frames per second (FPS).
- Format the hard disk
- Once done, set brightness and masking to prevent recording a neighbor’s property or a public road.
Network Setup to Connect to the Internet
You need to connect the DVR to the internet if you want to watch the CCTV footage on a computer, tablet, or smartphone. Also, this allows the footage to be uploaded to the cloud where it can be stored and streamed to you anywhere in the world where you have an internet connection.
Conclusion
Setting up a home video surveillance CCTV system can be both a fun and simple experience. Keep in mind that there are many home CCTV systems to choose from and many online home security stores, such as Mtech Store.